Start with a cereal or cracker box. Open it up. Take a protractor and draw 2 circles on each of the large panels, one inside the other. I made mine 9 & 8 inches in diameter. What you're making is a 1 inch wide circle on each side. Make it as wide as your space will allow. Cut out your circles.
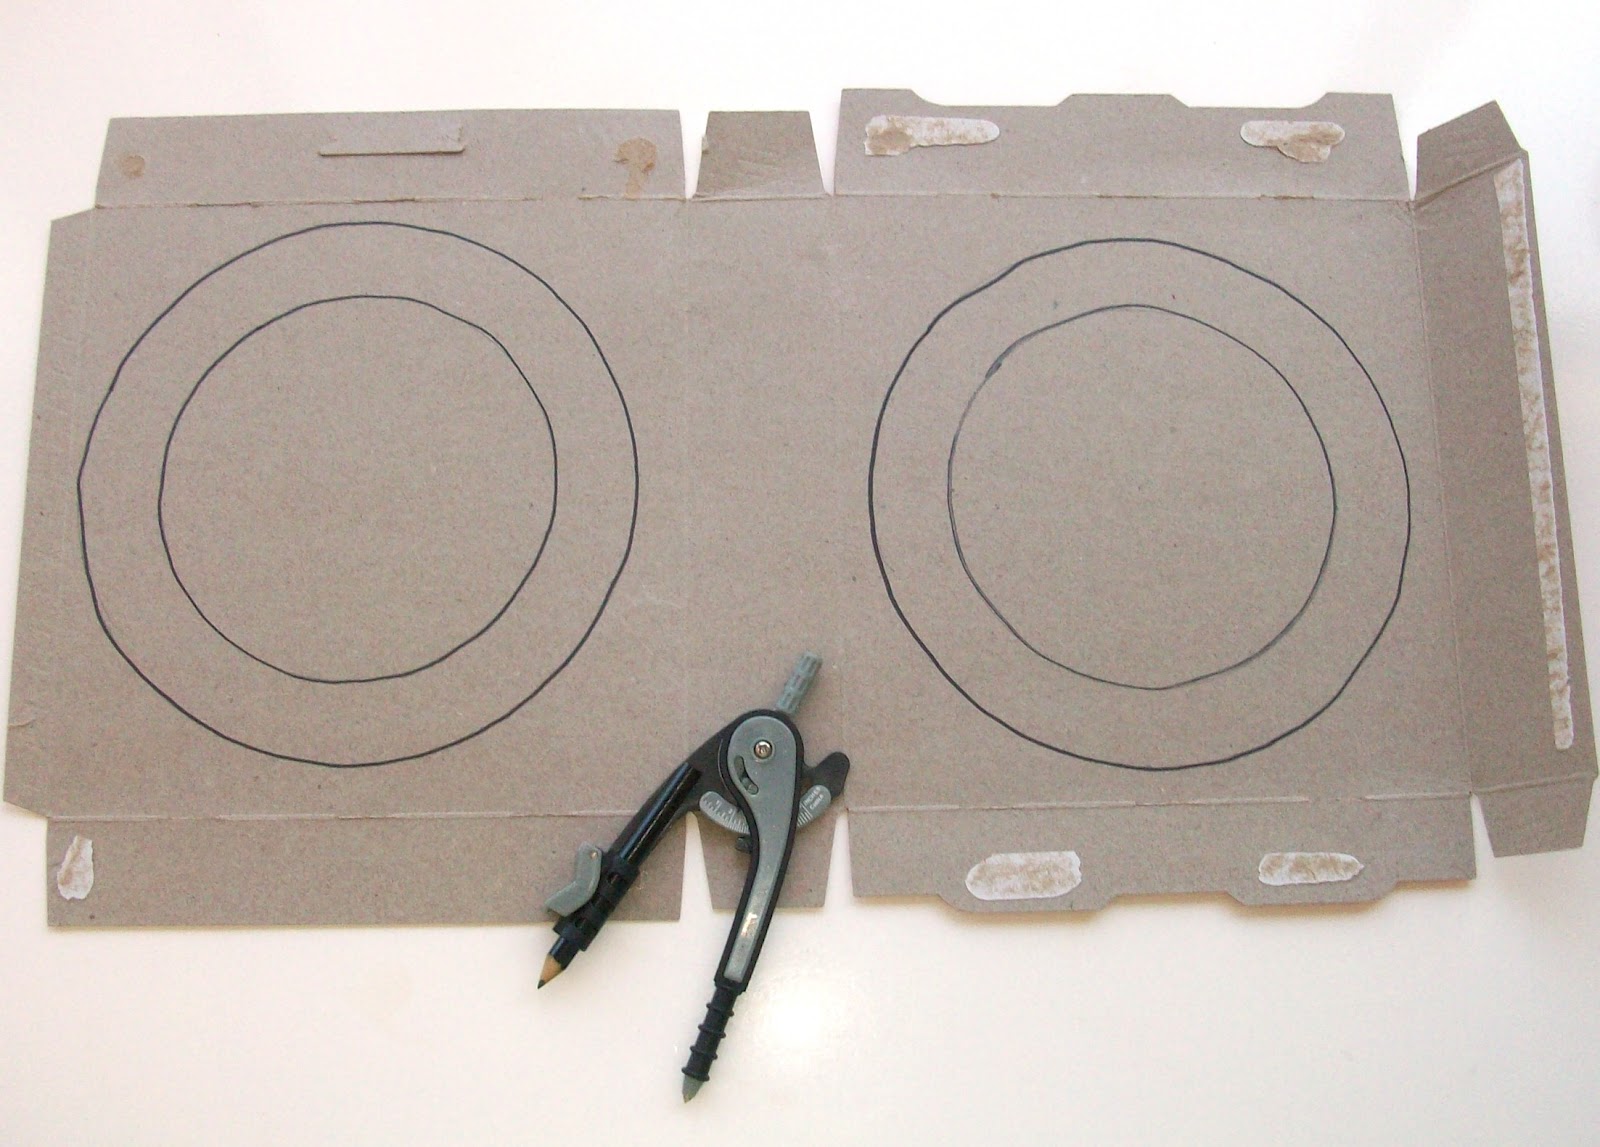 |
| (A protractor makes better circles than these. I traced my pencil lines with marker so they'd show up in the picture... as you can see I can't draw perfect circle!) |
Glue the 2 circles together with some tacky glue. With a black marker mark 12 dots, spaced like the numbers on a clock. Then take a red crayon and mark 4 dots equally apart.
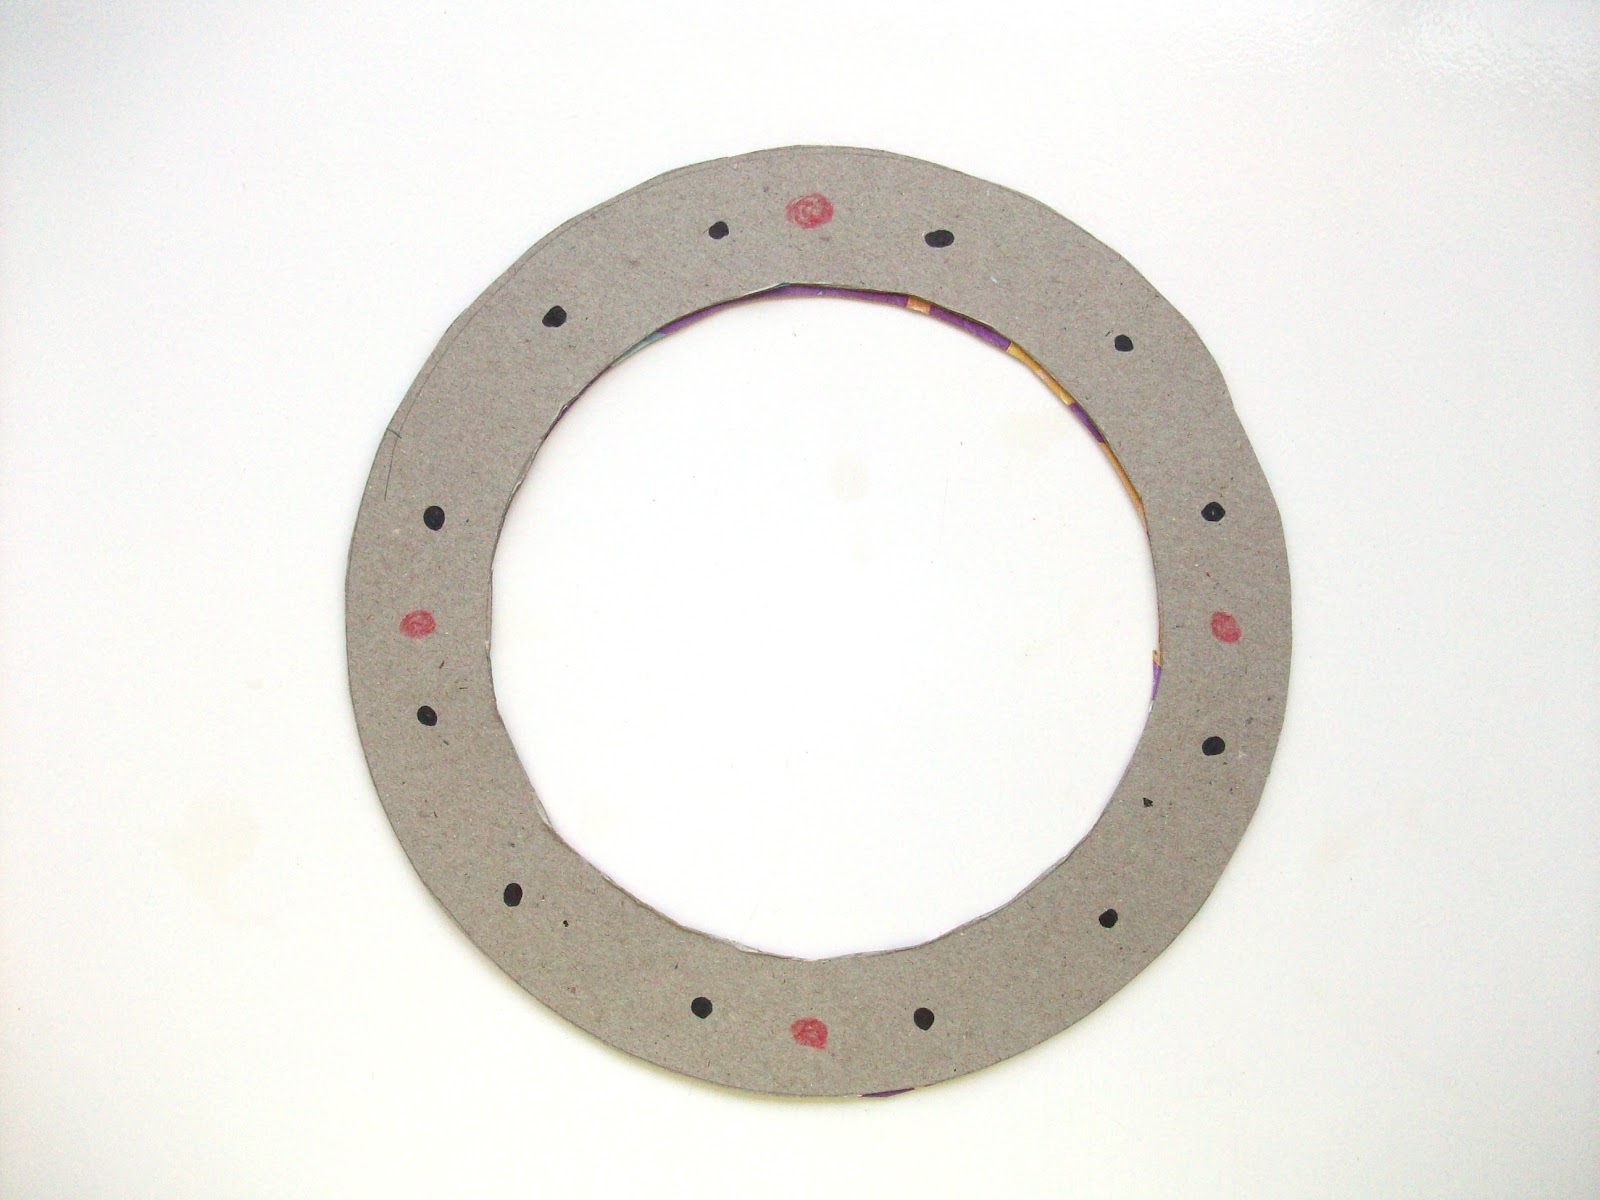
Take a thick safety pin and poke a hole threw each dot. Cut 4 pieces of yarn about 18 inches long. Thread through red dot holes using a yarn needle. Tie around circle and tie all together at top.

Cut some paper roughly into 4 inch squares. I used double sided scrapbook paper, but use what you've got on hand.

Let the kids cut and decorate 12 pieces however they like. Take the safety pin and poke a hole at the top of each decorated piece. Take some thread and a needle and tie a knot at the top of each piece. (**I used thread and yarn. Feel free to substitute for ribbon, twine, fishing wire, etc. Use what you've got.)

For this next step I found it easiest to hang the mobile from a clothes hanger at the top of a door frame. Use the needle and attach each piece to the bottom of the mobile at the prepared black dot spaces. I originally was going to arrange them in a certain order, starting with a really short string and ending with the longest. But that's just not what ended up happening.

At this stage you can decorate the cardboard circles if you want. I had planned on wrapping it in ribbon to give it a finished nice look, but my son was a little too impatient for that. He just wanted to hang it up. So that's what we did.

I hung it from the ceiling in his room with a push pin tack. I'm not sure how good of an idea that was... within 30 seconds he was running and jumping trying to hit it. Then standing up on chairs and jumping off them trying the same thing. But as he was going to bed he said, "Mom, I'm so glad we made that special craft today. I really love my new thing... what's it called again? It makes me happy to look at." That gave me a huge smile to end my day with. :)
No comments:
Post a Comment